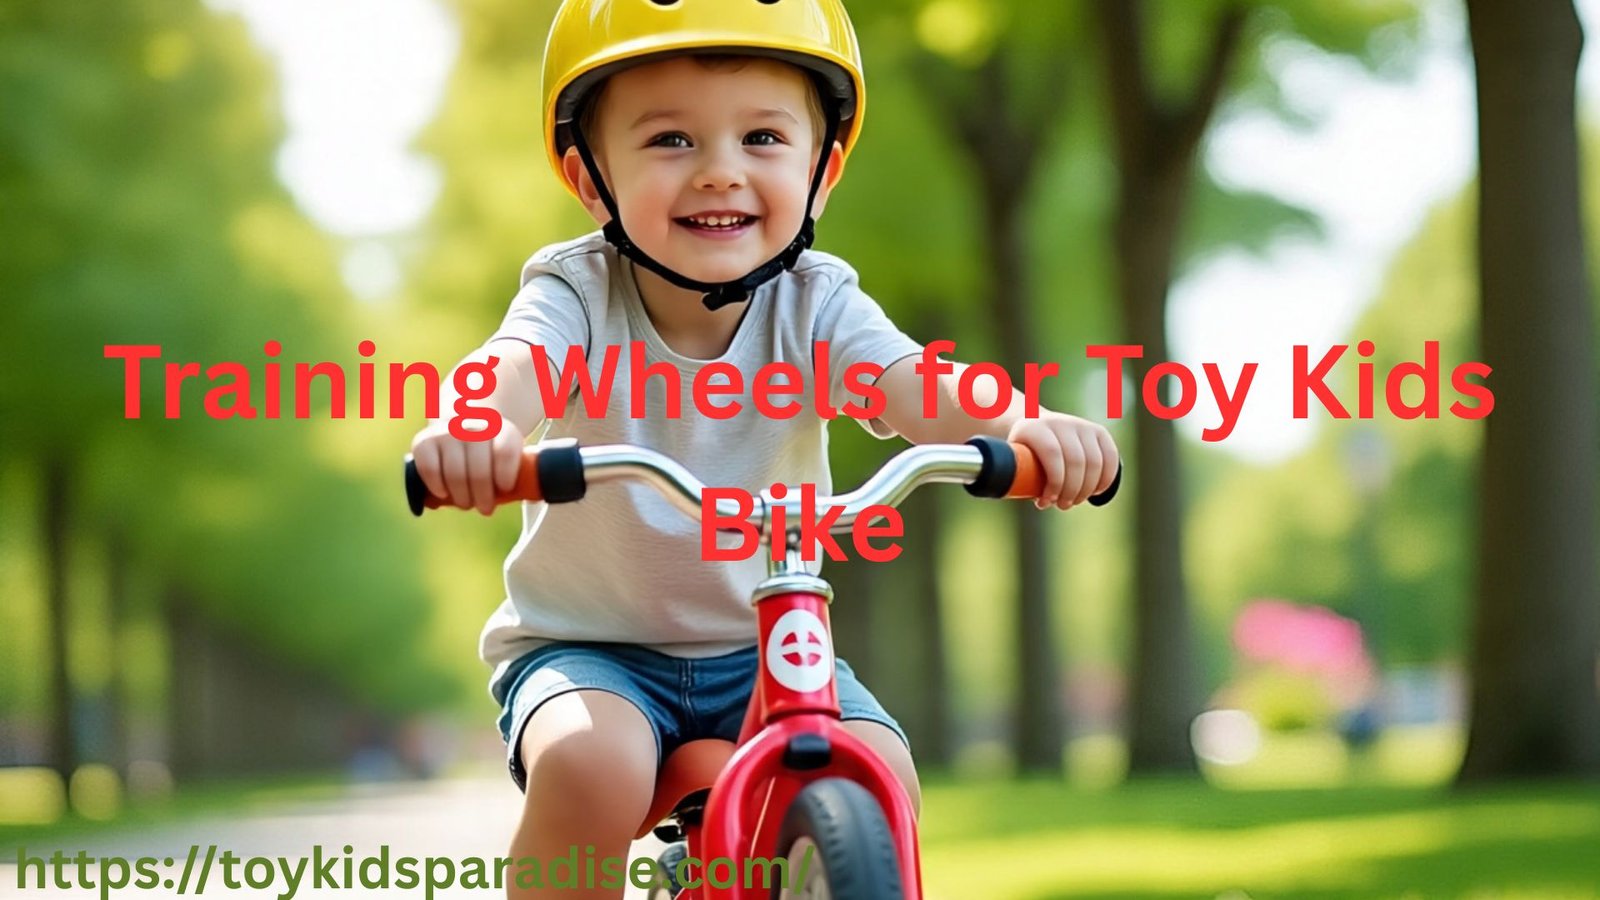
A Beginner’s Guide to Installing Training Wheels for Toy Kids Bike
Every parent cherishes the moment their child graduates from a tricycle to their first two-wheeled pedal bike. It’s a milestone filled with excitement, a little trepidation, and the promise of newfound freedom. For most young riders, this transition is made possible and much less intimidating by a simple, trusted accessory: training wheels for kids bike.
This guide is your comprehensive resource for selecting and installing these crucial stabilizers, ensuring your child’s first biking experiences are safe, confident, and full of joy. Welcome to the first step toward creating a toy kids paradise in your own driveway.
Why Training Wheels are a Great Starting Point
")
The primary purpose of training wheels for kids bike is to build confidence. They eliminate the immediate fear of falling, allowing the child to focus on the fundamental mechanics of pedaling, steering, and braking. By providing lateral stability, they let the rider get a feel for the bike without the constant struggle to balance.
It’s important to understand that training wheels don’t teach balancing—that comes later. Instead, they teach propulsion and control. When installed correctly, they should be set slightly higher than the rear wheel, allowing the bike to lean a little during turns, which introduces the concept of balance in a controlled way. This setup is a cornerstone of any beginner’s toy kids paradise, where the focus is on fun and gradual skill development.
What You’ll Need: Tools and Parts
Before you begin, gather the following items. Most new training wheels for kids bike kits come with the necessary hardware, but it’s always good to double-check.
- A set of training wheels for kids bike compatible with your child’s bicycle.
- An adjustable wrench or a set of socket wrenches.
- A screwdriver (Phillips or flat-head, as required by the kit).
- Possibly a hex key/Allen wrench.
- Your child’s bike!
A Quick Note on Sizing: This guide primarily focuses on standard 12-inch to 16-inch kids’ bikes. If you’re looking for training wheels for 20 inch bike, the installation process is identical, but you must ensure the kit is specifically rated for the larger wheel size and the bike’s frame can accommodate the mounting hardware.
Step-by-Step Installation Guide
Follow these steps to ensure a secure and correct installation.
Step 1: Prepare the Workspace
Find a flat, well-lit area to work. Lay the bike on its side on a soft surface like grass or a mat to prevent scratching the paint. Having a small helper (your child!) to hand you tools can make the process more engaging.
Step 2: Identify the Rear Axle Nut
Locate the nuts on the ends of the rear wheel axle. This is where the training wheels for kids bike will be attached. You may need to remove any existing bolt-on reflectors from the axle.
Step 3: Attach the Mounting Brackets
Take the metal mounting bar from the kit. It’s a long, curved piece with holes on each end. Place this bar against the rear axle, ensuring it sits securely against the bike frame. You may need to loosen the rear axle nuts slightly to slide the bracket into place. Once positioned, tighten the axle nuts back down securely over the bracket. The bracket should now be firmly clamped to the axle and not move independently.
Step 4: Install the Training Wheels Themselves
Now, take the individual training wheels. Each one will have a support arm that slots into the ends of the mounting bracket. Insert the arm and secure it using the provided bolt, washer, and nut. Do not fully tighten these nuts yet.
Step 5: Adjusting the Height for Optimal Learning
This is the most critical step. The goal is to set the wheels so that the rear bike tire and the training wheels are not all touching the ground flatly at the same time. A good rule of thumb is to have the training wheels for kids bike set about half an inch to an inch off the ground when the bike is upright.
Lift the bike so it’s standing on its kickstand or have someone hold it upright. Adjust the height of each training wheel by rotating the support arm up or down. You want both training wheels to be at the same height, creating a slight, consistent tilt. This setup allows the bike to lean gently into turns, which is the first introduction to the feeling of balancing on two wheels. This correct adjustment is what transforms a wobbly ordeal into a confident toy kids paradise.
Step 6: Final Tightening and Safety Check
Once the height is perfect, use your wrench to firmly tighten all the nuts—the axle nuts and the nuts holding the training wheels to the bracket. Give the bike a good shake. The training wheels should not wiggle or flop around. Ensure no parts are protruding in a way that could snag clothing or pinch little fingers.
Beyond the Kids Bike: Other Types of Training Wheels
While our focus is on children, the concept of stabilizers extends to other vehicles.
- Bike Training Wheels for Adults: Yes, they exist! Bike training wheels for adults are designed for individuals with balance issues, disabilities, or those who never learned to ride. They are significantly heavier and more robust than kids’ models, built to support an adult’s weight and a larger bicycle frame.
- Training Wheels for Motorcycles: Often called “training bars” or “outriggers,” training wheels for motorcycles serve a similar purpose for new motorcycle riders or for those with custom bikes that are difficult to balance at low speeds. These are serious, professional-grade accessories, not simple bolt-on kits, and are crucial for safe motorcycle instruction.
Finding What You Need
If you’re searching for “training wheels for kids bike nearby,” your best bets are local bicycle shops, large toy stores, or major retail chains with sporting goods sections. Staff at a local bike shop can be particularly helpful in ensuring you get the right kit for your specific bike model and can often install them for you.
Conclusion
Installing training wheels for kids bike is a simple, rewarding task that opens up a world of adventure for your child. By taking the time to install and adjust them correctly, you are not just bolting on pieces of metal; you are building confidence and paving the way for a lifetime of cycling enjoyment. You are creating that perfect, safe toy kids paradise where memories are made, one steady, joyful ride at a time. Soon enough, with this solid foundation, your child will be ready for you to loosen the wheels, then remove them entirely, as they soar off on two wheels, all on their own.
Frequently Asked Questions (FAQs)
Q1: My child’s bike leans to one side even with the training wheels on. What did I do wrong?
This is almost always due to an imbalance in the height of the training wheels. Loosen the nuts holding the wheels to the bracket and adjust the height so both wheels are level with each other, creating an even tilt. The bike should not sit flat on all three points (two training wheels and the rear bike tire).
Q2: How long should my child use training wheels?
There’s no set timeline, as every child is different. Use them until your child can pedal and steer confidently and starts to corner without clanking the training wheels on the ground. This is a sign they are leaning and ready to learn balance. The journey through this toy kids paradise stage can last from a few weeks to a few months.
Q3: Are training wheels better than balance bikes?
Both are effective tools. Balance bikes teach balance first, while training wheels teach pedaling and steering first. Many families start with a balance bike and skip training wheels altogether, but training wheels for kids bike remain a perfectly valid and successful method for learning to ride.
Q4: Can I put training wheels on any kids’ bike?
Most kids’ bikes with a rear axle are compatible. However, some modern frames or bikes with certain types of rear disc brakes may not have the clearance. Always check the bike’s specifications or consult with a bike shop if you’re unsure. This is especially important if you need training wheels for 20 inch bike, as frame designs can vary more at this size.
Q5: The training wheels make a loud clicking noise when turning. Is this normal?
Yes, this is typical. The noise comes from the internal spring mechanism that allows the wheel to flex upward when going over bumps or leaning into turns. It’s a normal part of their function and not a cause for concern as your child navigates their toy kids paradise.
Q6: Where is the best place to buy training wheels for kids bike nearby?
Local bicycle shops are the best for expert advice and guaranteed compatibility. Large retail stores like Walmart or Target, as well as toy stores, also carry them. For specific needs like training wheels for 20 inch bike, a dedicated bike shop is your most reliable source.